|  |
|
|
|
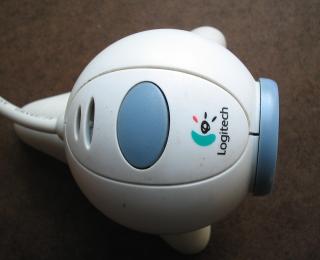
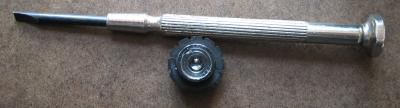
IR QuickCam I've been hearing about (from friends, then from [here], [here], and [here], etc.) how a regular webcam can be turned into an IR webcam, so I decided to try it... and so I took my old Color QuickCam, and... Well, that's what this doc is all about: Here is our victim (errr...) now:
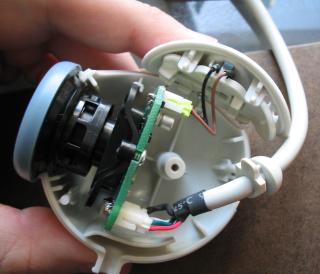
It is the standard Color QuickCam Express by Logitech. I think it was $50 when I got it many many many years ago. Anyway, the first thing to do is to remove the single screw (on the side) with a screw driver (what else?), and then to pry the thing apart:
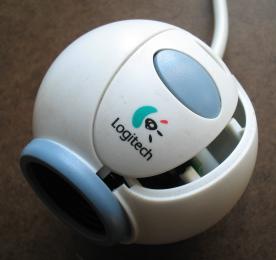
(yey, eye ball on a stick...) It comes apart surprisingly easy. I always thought it was glued together, but apparently there's only one screw that's binding the two egg shells.
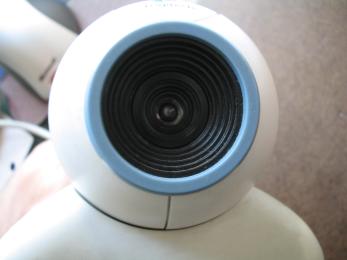
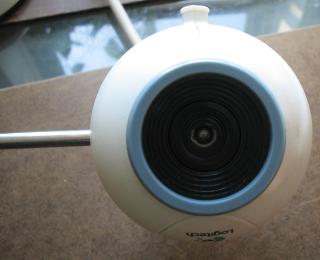
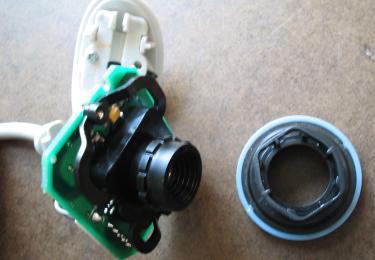
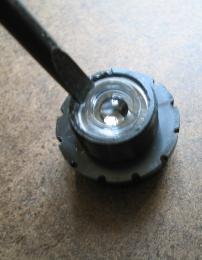
The part we're interested in, is the lens assembly:
The lens part then screws off (not easily---but it does come off).
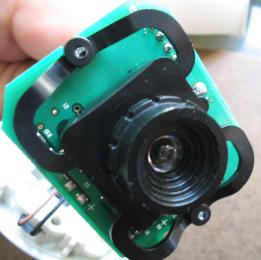
Once we have the lens separately, we can begin to pry off the top lens. In this model, the lens is somewhat glued (had to scrape the glue off with a pin, then used the trusty screw driver to get the lens out.
The tricky part is getting the damn plastic lens out without damanging it too much.
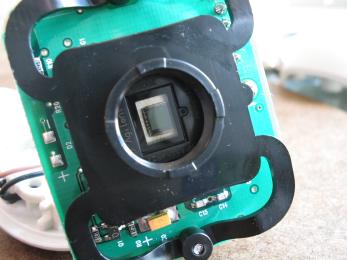
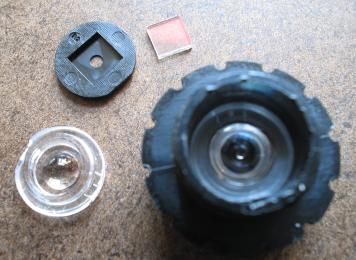
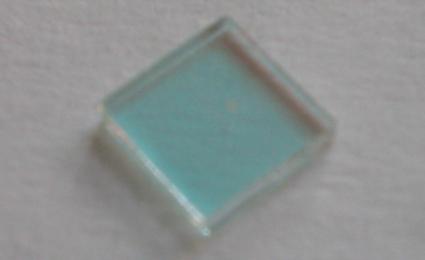
Once it's open, a bunch of pieces fall out. The little square thing is the IR filter. That's the thing that stops IR energy from being detected by the CCD. Here's a close up.
There really isn't much beyond this point. Some folks recommend putting a dark film to filter out visible light (instead of that little square). That's not really nessasary (unless you -want- to block out visible light). I've decided to just put the thing back together without that IR filter.
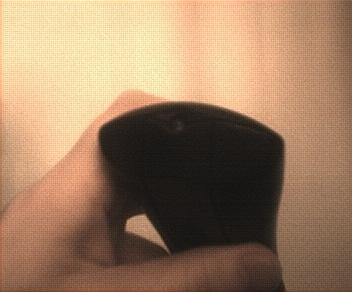
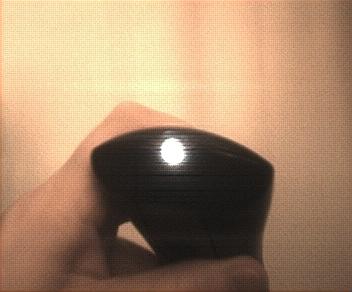
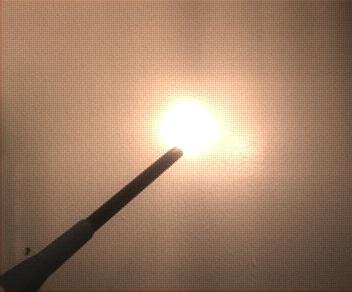
The reverse assembly is sorta obvious. You stick the two halfs of the camera together, and screw that single screw :-) And now... for some tests. The camera, works pretty much just like before. It does display color, etc. But... it also detects IR! Check this out:
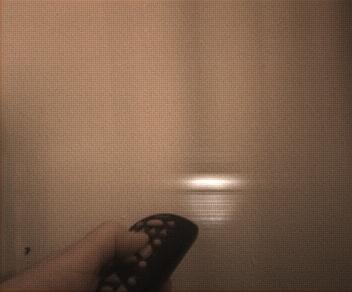
You can also use a remote as a flashlight...
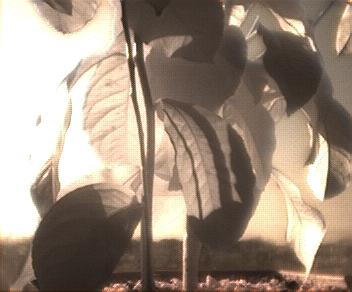
Or take pictures of plants... or lighters...
But the big question, can it detect spam?...
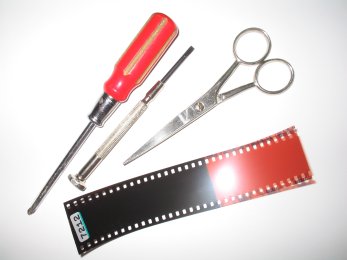
...and yes, it can. The cool thing is that now, the camera doesn't seem to be much effected by the dark (well, much less so than it was before). It used to be that before the camera would produce only a dark blur when shooting in the dark... now, it just seems `fine' (well, not perfect). Although colors are very washed out, but then colors weren't good to begin with in these cameras. And in extremes, a remote control can be used as a flash light... errr. Oh, yeah, if you do something like this, it will apparently void your warranty. So much for that. Until next time... Update: Well, I decided I needed to put in that visible light filter (exposed film), so here are the components...
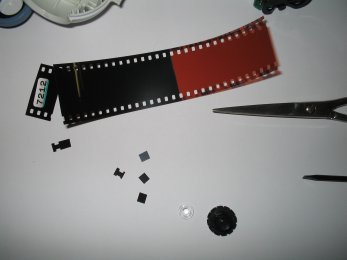
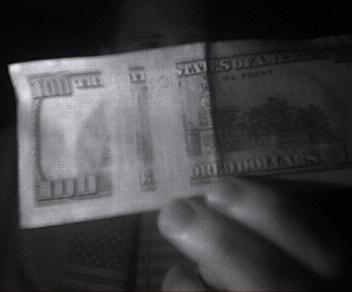
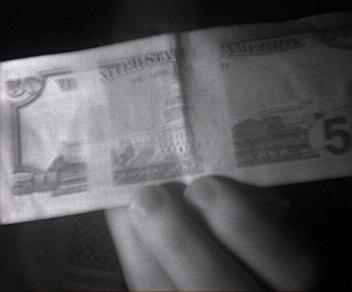
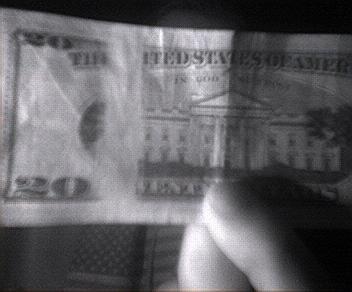
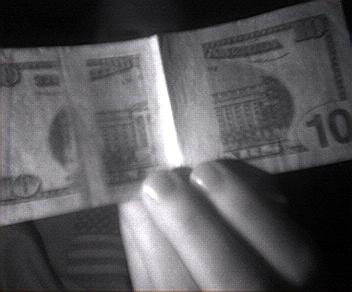
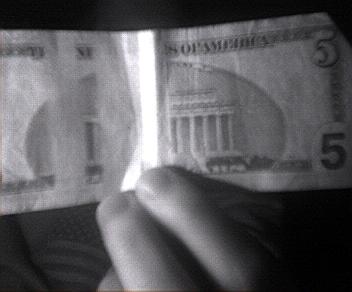
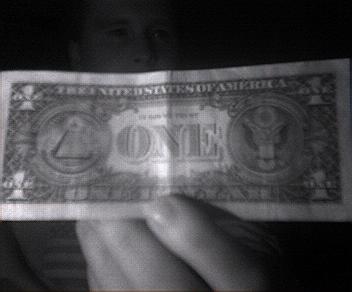
The little square bits go in the place of the IR filter. Two of them. What this does is block out visible light, so the camera only picks up IR light (supposedly only). Some visible light still manages to get in, but beyond two layers of film, it's not that much. This new camera makes some nicer images. For the most part, they're all black and white now, and it's perfectly possible to get a totally dark image eventhough it's seemingly bright (that fluorescent light doesn't seem to do much for the IR camera). Best way to capture images is to use sun light (d0h!), a remote control (when in the dark), or simply light a candle (or use regular light bulbs, if you still have'em). Here are some shots of money... notice the strip that's visible in IR but not in normal light.
The $1 is the only paper currency that doesn't seem to have any form of security.
More info on these IR mappings can be found here. Until next time... |